The fantastic buildbot continuous integration framework offers plenty of functionality, among others the option to authenticate with several options. The framework, at the time of this writing, comes with plugins packaged, that locally support NoAuth, UserPasswordAuth, HTPasswdAuth. More interestingly, buildbot also supports GoogleAuth, GitHubAuth GitLabAuth, BitbucketAuth for authentication through an OAuth2 login. Further, there are plugins for RemoteUserAuth or CustomAuth.
Extending BuildBot
However, there is no generic plugin for OAuth2 authentication. The obvious reason for this is, that OAuth2 is an authorisation protocol, but that’s the story of another post. While at first glance the documented classes for our purpose seem to be RemoteUserAuth or CustomAuth, open source allows us to understand how for example the GoogleAuth-class works and give us an idea of what we can do here. So does buildbot come with a base-class OAuth2Auth, that all others inherit from. We can do the same for our goal:
from buildbot.www.oauth2 import OAuth2Auth  # for custom authentication

class PramariAuth(OAuth2Auth):
    name = "Pramari"
    faIcon = "fa-python"

    resourceEndpoint = "https://www.pramari.de"
    authUri = 'https://pramari.de/o/authorize/'
    tokenUri = 'https://pramari.de/o/token/'
    authUriAdditionalParams = dict(scope=" ".join(['userinfo', ]))

    def getUserInfoFromOAuthClient(self, c):
        data = self.get(c, '/api/userinfo/')
        return dict(full_name="{}, {}".format(data['last_name'], data['first_name']),
                    username=data['username'],
                    email=data["email"],
        )

    def createSessionFromToken(self, token):
        s = requests.Session()
        s.headers = {'Authorization': 'bearer ' + token['access_token']}
        s.verify = self.sslVerify
        return s
The class requires a few attributes to be set. The obvious are name, that indicates the name of the Authentication Plugin, and faIcon, that allows to chose a FontAwesome-Icon as a representation in the buildbot menubar later. Further, OAuth2 requires an authorisation-endpoint URL and a token-exchange endpoint URL. These are specified by the authUri– and tokenUri-attributes in the above example. The authUriAdditionalParams will specify the OAuth2-scopes that will be requested in the authentication/authorisation-process. Since buildbot will require, at a minimum, some information about the authenticated user, this will contain a space-separated list of scopes. Here it is the “userinfo”-scope.
The class can exist in master.cfg.
Providing UserInfo
On the server end, in this case pramari.de, this example presumes using Jazzbands fantastic oauth2-toolkit and the equally fantastic django-restframework. To provide the userinfo that buildbot will expect, in this case under “/api/userinfo“, djangorestframework can serialize information from the Django User-Model.
class UserSerializer(serializers.ModelSerializer):
    # pylint: disable=R0903
    class Meta:
        model = User
        fields = (
            "pk",
            "username",
            "first_name",
            "last_name",
            "email",
        )
To provide these details, djangorestframework needs to have a view to give out these details:
class UserDetails(views.APIView):
    # authentication_classes = [OAuth2Authentication]
    permission_classes = [TokenHasScope]
    required_scopes = ['userinfo']
    serializer_class = UserSerializer


    def get(self, request, *args, **kwargs):
        userinfo = User.objects.get(pk=self.request.user.pk)
        return response.Response(UserSerializer(userinfo).data)
Finally, add the userinfo-api view to your urls.py configuration, to provide the API Endpoint under /api/userinfo/, as configured in the buildbot-authentication class:
urlpatterns += [
    path(r"api/userinfo/", UserDetails.as_view()),
]
Userinfo is now available to API-clients that provide a token with the ‘userinfo’-scope.
Server Side
Of course, the client needs to authenticate against an authentication server, in our example using Jazzbands fantastic OAuth2-toolkit). We’ll not discuss installation and configuration of the server-side here, the package has fantastic documentation. Provided the toolkit is reachable just as the django-oauth2-toolkit tutorial described it, add a client at http://<hostname>/o/applications/:
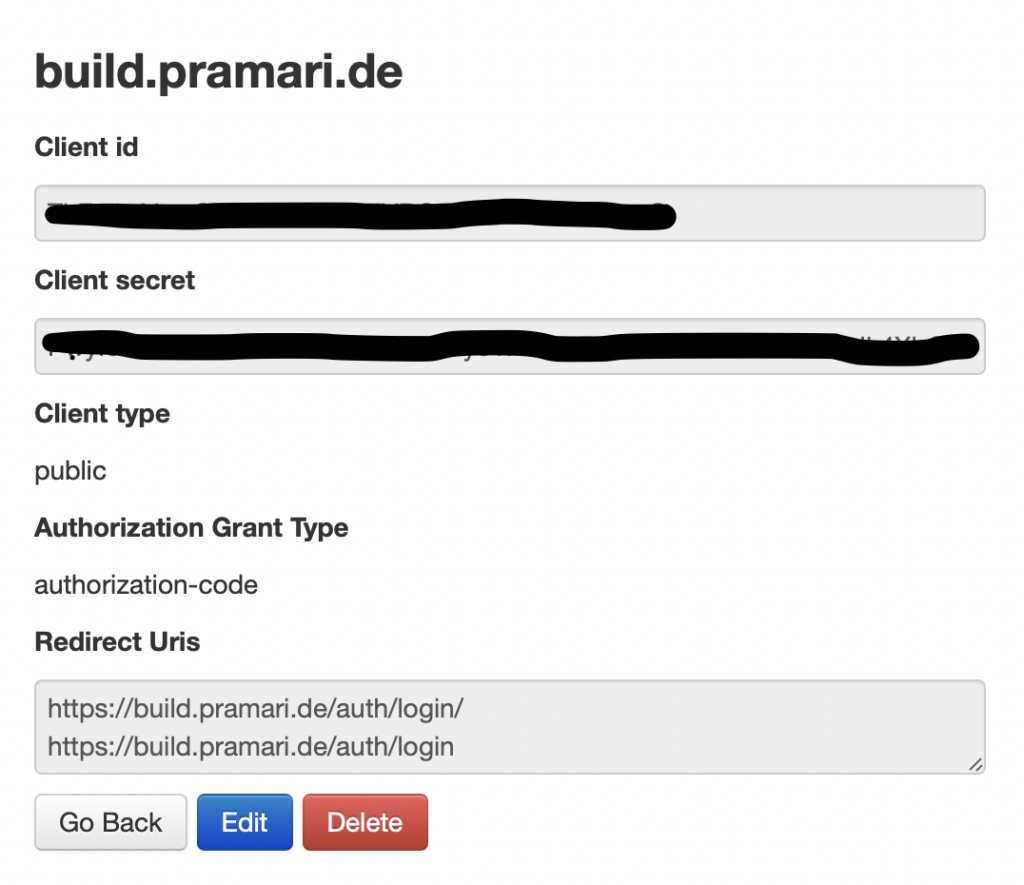
The dialog will auto generate client-id and client-secret, that you will need for a later step. The buildbot-application will be a public application, that works using the authorization-code flow. Redirect-URLs for buildbot are <buildbot-url>/auth/login/. Please replace with your URL in the above example.
OAuth2 Login
Once you have client-id and client-secret, you can go and configure the web interface in master.cfg for buildbot:
['www'] = dict(
        port=8010,
        plugins=dict(waterfall_view={}, console_view={}, grid_view={}, badges={"left_pad": 0, "right_pad": 0, "bord
er_radius": 3, "style": "badgeio"}),
        auth=PramariAuth(
                clientId="********",
                clientSecret="********"
        ),
        change_hook_dialects={'github': {'secret': 'BRbNFGkfC$os9W)3mXCYer>vf2,j;w2MYfzNRRdMz{HGVa6zbaoPi6fb6Fs?EEp
w'}},
        authz=authz
)
As a last hint in this small exercise, you may want to look into authz, to ensure proper access-limits for remote-authenticated users. Again, buildbot has excellent documentation on this topic, and further examples would be beyond the scope of this article. Here only for the completeness of the example:
authz = util.Authz(
allowRules=[
util.AnyControlEndpointMatcher(role="admins", defaultDeny=True),
util.AnyEndpointMatcher(role="admins", defaultDeny=True),
],
roleMatchers=[
util.RolesFromEmails(admins=["andreas@neumeier.org"])
]
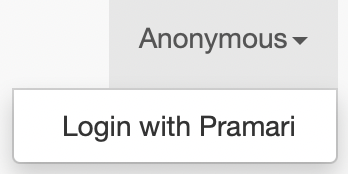
)There you go. After starting, buildbot now comes with your own one-click login: